Spring has sprung, the grass has risen, and your house is still a MESS. It’s okay. We have all been there. Whether you live alone or with a spouse and kids, cleaning can be overwhelming.
Thankfully, we are here to help you on your journey to a clean house and a clear mind. Follow along with our ten steps to deep clean your room!
To Clean Or Not To Clean: When Is the Best Time
That is the question! There is no set rule for when to clean, but we know that bacteria can start to grow on certain surfaces quicker than others and start doubling every four to 20 minutes. So, it pays to clean quickly and clean often when it comes to household surfaces.
But what about whole rooms? This is where many of us have trouble. An empty bedside water glass turns into a dozen half-full (half-empty?) glasses resembling some sort of science experiment on the effects of standing water. The dust bunnies multiply into fleets of tumbleweeds. Scattered bills and papers become an untraversable paper trail. Where does it end?
Don’t wait for spring cleaning to get your house in order, either. Clutter can have a negative effect on our ability to focus, our anxiety levels, and our sleep. Research shows the cumulative effect of disorganization on our brains is negative. We seek order in our surroundings so, when our homes are cluttered, so too are our minds. Even more alarming, a messy house has also been tied to physical conditions such as obesity.
If such commanding evidence that being a messy hoarder is detrimental to your well-being has you a bit shaken, we have got you covered. Our guide will take your room from scattered to squeaky-clean in no time!
You Go High, Then Go Low: Where To Start Deep Cleaning
Figuring out where to start is hard when you don’t want to begin in the first place. There are many different methods you can follow when starting to deep clean. The most famous and popular at the moment is the KonMari Method. You may know this one from the TV show.
Essentially, this method encourages tidying by category instead of by location. So, you would start with clothes, then move to papers, then books, etc. You would then only keep the items that speak to you and discard items that no longer “spark joy.” You then thank these items for their service and toss them away. A bit heady, sure, but it is certainly an effective means of cleaning for some.
We will be focusing on a more grounded approach that doesn’t require you to have conversations with inanimate objects. This method can be called “top-down.” Let’s begin.
Step One: Get Rid of Trash

Before we break out the ladder and step stool, let’s pick up all the trash. Any rolled-up papers or gum wrappers can be put right into the wastebasket. Once you’ve stuffed that bin full of snack packages and clothing tags, toss that into the big bin and replace the bag.
It’s good to keep some extra trash bags in the bottom of the bin if you don’t already. It makes life easier and has the added effect of making you feel like you are in an office space or classroom where they actually know what they are doing.
Step Two: Put Away Your Clothes
The trash is out. It’s time to pick up the dirty clothes that have accumulated on your floor and expensive workout equipment. There is almost certainly a hamper somewhere in all this mess. Locate it and fill it with all the scattered shirts, pants, and lonely socks whose pair you will never find.
Having an open-topped hamper can make it easier to drop clothes in, by the way. For some reason, seeing a closed hamper causes most of us to opt for throwing clothes on the floor instead of where they belong. It is also quite fun to ball up clothes and toss them in a hamper while pretending the clock is ticking down in the last moments of the NBA finals. But to each their own!
Step Three: Tackle Surface Clutter
Surface clutter is different from trash. These are items like daily objects that start to amass over time. Things like shoes, keys, glasses, or masks pile up quickly, and nightstands and dressers are especially prone to these types of clutter. Use this step to put those items back in their rightful homes.
Step Four: Dust Away
Now that we can see the floors and surfaces, we can start with the top-down approach. If you have a fan or any high vents, start by dusting those. Continue on to the window sills and then curtains and light fixtures.
Step Five: Mirrors and Windows

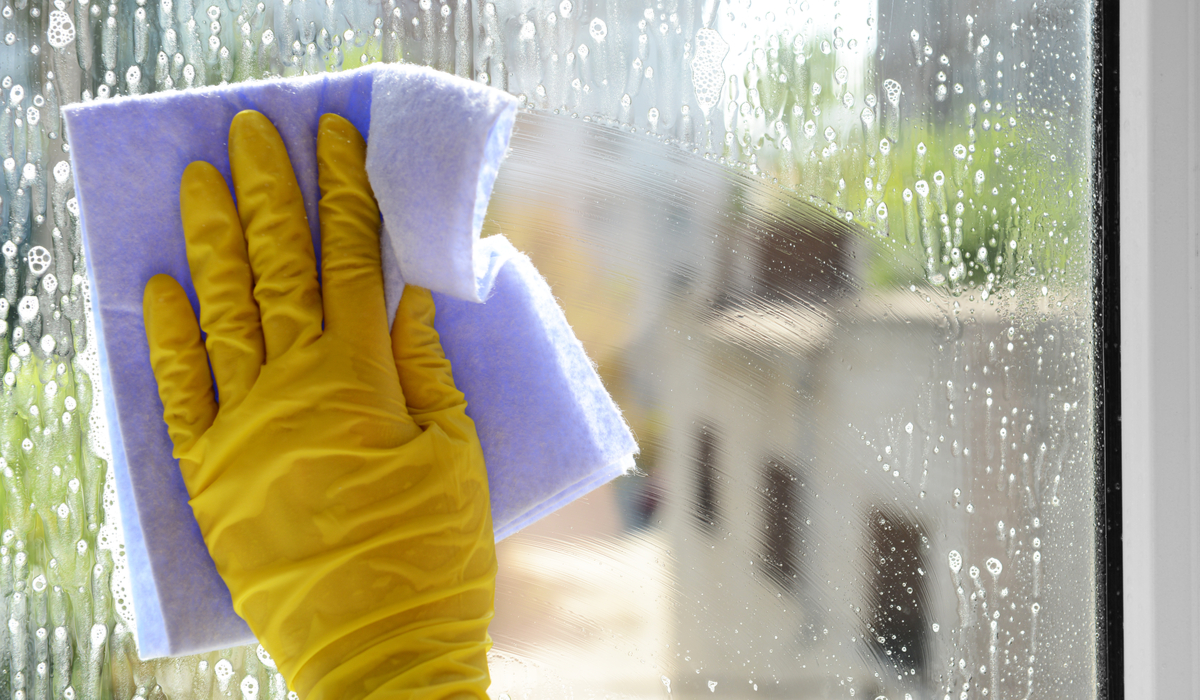
Now, move onto the mirrors and windows. If you want those squeaky clean windows that birds fear, you are going to want to make sure you have the appropriate glass cleaner in your arsenal. Once you do, let the light shine through and your reflection glow by wiping down the glass with streak-free cleaner. Fingerprint smudges and water stains can accumulate quickly on glass, so make sure you clean corner to corner and down low where the kids may have touched.
If you really want a clean window, take out the screen with a screwdriver and carefully lean out the window to scrub the outside debris off. Don’t forget to clean the small crevices on the windows, too. The gap between the window and the sill can be a collector of grime.
Step Six: Wipe Down Everything
The reason we clean top-down is because of dust. Dust is everywhere, and it is hard to get all of it since it is constantly floating around the air. When you clean high to low, the dust that is kicked up from the high areas has a chance to settle on the low ones.
This is the step when it starts to pay off. Start wiping down and dusting the counter services where dust may have landed while cleaning the vents and curtains. You can use a duster or a cleaning wipe to take care of the dust that has settled. Grab the appropriate cleaner for the surface and start to scrub in circular motions. Wax on, wax off, remember?
It’s easy to scrub the top of your surfaces, but try to take time to get the front of them and legs as well. Get real low on these, too, as dust likes to cling to rarely touched areas.
Step Seven: Change Your Sheets
Strip the bed! Traditionally, you might think to do this earlier but remember, we are at war with dust! The particles kicked up from earlier are now on your bed, and we want to clean the sheets to remove them. Even if you think they aren’t covered in dust and you go to bed squeaky clean after the shower, your bed is still dirty and could use a cleaning once a week.
Remove the pillowcases, comforter, sheets, and any blankets you use each night. Throw them in the wash while you finish the other cleaning steps.
Step Eight: Sweep and Vacuum
While the sheets are being washed, It’s time to start sweeping or vacuuming! If you have a second pair of sheets, you can put those on now if you want, too. You can’t have a clean room without clean floors. Make sure to clean or vacuum area rugs before you sweep or mop. If you have hardwood or tile, break out the floor cleaner and mop on this stage, too.
Make sure you move the furniture to clean behind it and get those pesky dust bunnies you may have missed in the early stages of cleaning.
Step Nine: Get All the Nooks and Crannies
Since we are doing a deep clean and waiting for the sheets to dry, we can do some crevice work! There are many around your room, so make sure to cover your bases. A good one that is often overlooked but makes a big difference is the floorboards. If you have white floorboards, the small surface area can be a collector of gunk and dirt.
Cleaning these is simple. Just bend over and wipe them with a cleaning wipe. Ditto for other crevices. Inside the bulb casing/cover or lampshades is another big dust collector. Try to do the ceiling lights while you are working through step four, but desk lamps and other waist-level ones can be wiped down now.
Step Ten: Make the Bed

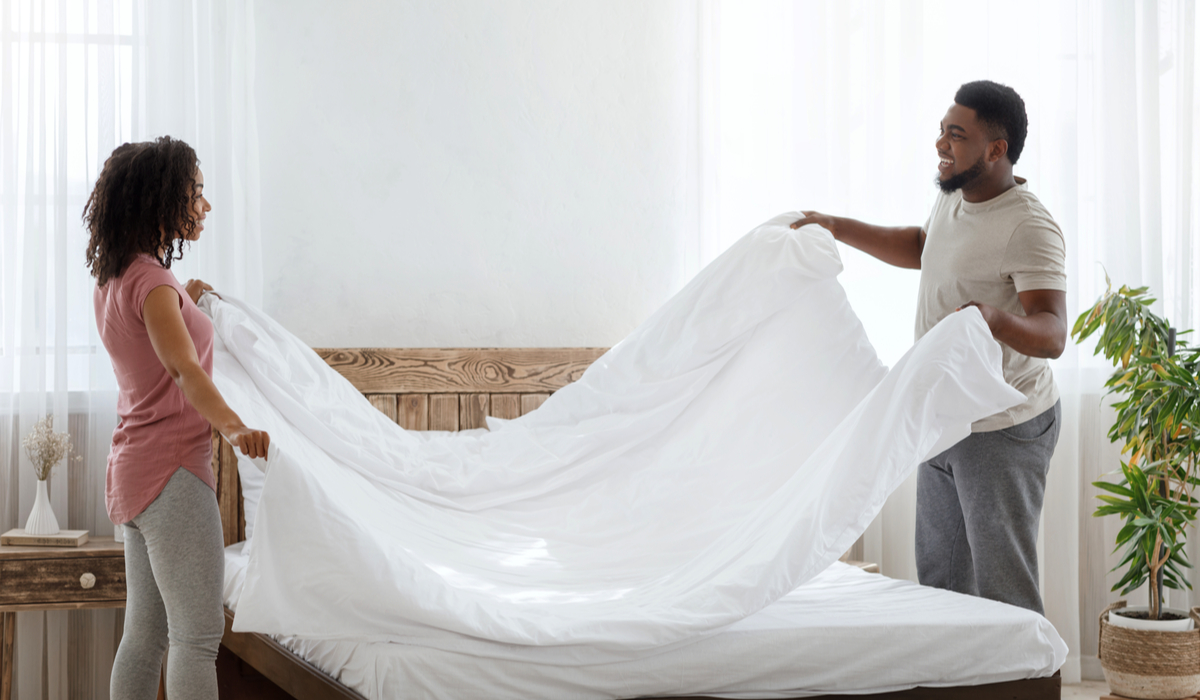
By this point, the sheets will hopefully be squeaky clean and ready to be put back on the bed. Make the bed as you normally would; tuck them in and lay down. You deserve a little break after all that deep cleaning!
You’ve Done It!
Congratulations, you did it. We never doubted you. If you follow this guide, your room should look like a museum! It probably seems like a lot to do, but if you put in your headphones and listen to a podcast, it can actually be quite meditative. So, enjoy those endorphins and stay tidy, folks!
Check out Bulbhead for more cleaning supplies and help taking care of your home.

Trackbacks/Pingbacks