
Hardwood floors are maybe the nicest type of flooring available to have in your home. They are beautiful and classic, and there is nothing like the earthy beauty they bring to any room they are placed in. Their warmth is accented by their durability and, if treated properly, they can last for decades.
The key to hardwood’s longevity is making sure you properly clean and care for it. Unlike tile, vinyl, and laminate, hardwood requires surprisingly little maintenance, but proper upkeep will make your cherished floor shine and sparkle like the day you laid it down.
So, read on to learn how to mop hardwood floors.
Wood You Kindly?
Hardwood floors have been around for a while, but they are not as old as you might think. You probably see hardwood when envisioning a historic interior, and while this is the case in some instances, polished hardwood flooring as we know it today only dates back to the late 19th century. Before then, the appearance of wood flooring was much different.
Walk the Plank
Wood flooring dates back to Colonial America. Floors in this period were often made up of large and thick wooden planks. This was due to the abundant forests on the newly settled continent. While the continent was new, the trees were not. This meant that many were massive in their diameter and extremely tight-gained. These factors created lumber that was more durable than the newer trees used today in wood flooring.
Pit Stop
The process of taking a large tree and turning it into wood flooring was no easy task. The early Americans relied on pit-saws. A pit-saw was a method which required a, you guessed it, pit! Two men were required to cut the large pieces of timber which were laid over a pit dug in the earth. Once the log had been squared with hand tools, one of the men would stand below it in the pit while the other would stand on top.
The two men would operate a long-bladed saw, working together to push and pull their respective ends while following along a chalk line. Once these were cut, they would be laid over floor joints side-by-side and nailed in. Since these were not finished with any coating, the lumber would wind up burnished through years of foot traffic. And despite being close together upon installation, gaps would often open as the wood aged and warped.
These gaps were later addressed by “ship-lapping” the boards. This process required the long end of the plank to have an L-shaped grove that interlocks with the board next to it. This kept the wood from warping and held them in place.
Decorative FLOORishes
Wood flooring remained largely unchanged until the 18th century when wood flooring became more decorative. Floors were increasingly painted with geometric shapes or monochromatic depending on the style of the home. During this time, floors that were not painted were meant to be covered since they were usually made of lesser quality wood and thus not meant to be shown off.
This was also a time that saw a boom in the carpet industry due to advances in technology, so many hardwood floors were covered. Floor protectors, large area rugs, pads, or floor mats, were used to protect floors. If the floor was shown off, they were likely parquet. Parquet hardwood floors require arranging the wood in geometric patterns like diamonds or herringbone. This process was arduous and required each piece to be cut and fitted by hand.
Dutch or Finished?
Thanks to the Industrial Revolution, steam-driven woodworking machinery made it easy to mass-produce finished boards. The ability to have lumber milled in specific lengths and widths made installation appear more finished and led to more creative designs.
Around the same time, the process for molding tongue-and-groove floorboards was developed. Similar to L-shaped grooves, tongue-and-groove molding is a method of joining boards together by fitting them into a protruding “tongue” on one board and a small groove on the adjacent board. Think LEGOs that don’t dig in your heels when you step on them.
Polly Polished
The polished hardwood floors we now think of were not commonplace until the late 19th century. Hardwood floors in this period were often white oak, maple, black walnut, or chestnut. It was common to see floors in public places with alternating strips of different kinds of wood. Fir eventually became the wood of choice around the mid 18th century.
Installation at this time was still more labor-intensive than it is today. Floors actually had to be sanded and scraped smooth by hand and then finished with coats of shellac before finally being waxed. These floors remained popular until the mid 20th century. At this time, manufactured materials became more popular, and wood flooring fell out of vogue. Eventually, Victorianism became popular again, and there was renewed interest in hardwood.
Woodn’t It Be Nice?
Now that hardwood is back in style, there is also an abundance of options available. Hardwood flooring comes in finished and unfinished.
Unfinished hardwood flooring is great if you have a custom stain in mind that you would like to apply before the floor is finished. This is also a great option if you want to match the color of an existing floor. Once you choose your color, install, and stain, the floor is then coated with a protective finish. This is a popular option for kitchens since the cracks will be sealed and will prevent liquid from seeping through the boards.
Prefinished hardwood flooring is already sanded and sealed by the flooring manufacturer at the factory. This makes the installation process quicker and easier, and the floor is ready to be used immediately after installation, per the manufacturer’s instructions.
One Ply or Two Plywood
Another option available to those interested in installing hardwood is solid or engineered.
Solid hardwood is 100% wood and is either 5/8 or ¾ inches thick. It can be sanded and refinished many times because it is solid wood. Because it is solid wood, it is susceptible to changes in humidity and may swell when exposed to excess liquid.
Engineered hardwood is, well, engineered. It is not 100% hardwood and instead has only a veneer of real wood that is glued to several layers of different wood underneath, usually plywood. This is a great option for anywhere in your home because it has excellent stability over time (especially in high-traffic areas) and won’t warp. Because it relies on a veneer, engineered hardwood can only be sanded and refinished once or twice during its lifetime.
Softwood Floors?
One should also consider the wood species they choose for their hardwood floors. The best species are woods that are harder. Woods like maple, oak, and cherry are all very hard. Walnut, ash, and bamboo are also good species for hardwood. Yes, bamboo is grass, technically, but there is no such thing as hard grass floors, so here we are!
An option that is growing in popularity as the world slowly becomes inhabitable due to climate change is reclaimed hardwood flooring. This kind can be found at salvage yards and will have some wear and tear, but it will be cheaper and a better option if you are using it to renovate an older home.
Hardwood But Easy Clean
Despite the name, cleaning wood floors is pretty easy, which is one of the reasons this flooring choice is so popular.
Dusters in the Wind
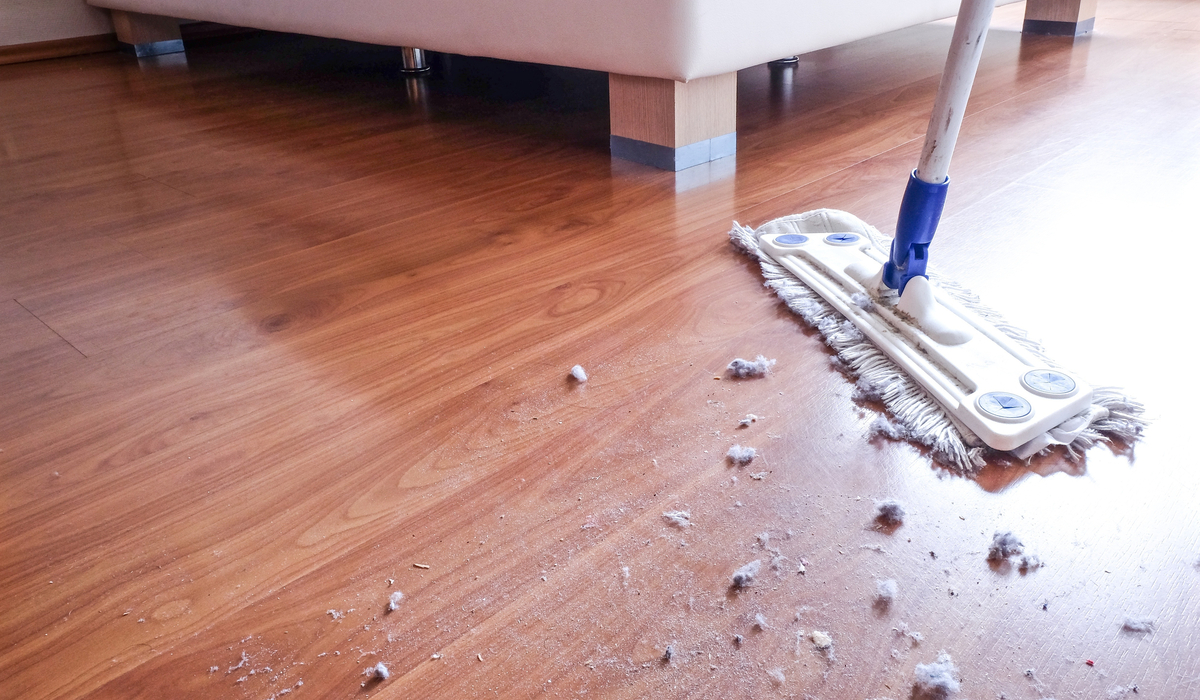
All we are are dusters in the wind! The first step to properly mopping a hardwood floor doesn’t require a mop at all. You should be dusting your floor routinely with a broom or dust mop to keep it free of debris. Look for dust brooms with a microfiber head since a microfiber mop is better at catching grime, dirt, and pet hair. You can also use a vacuum, but make sure the brush attachment is on so that you don’t scratch your hardwood’s finish.
For cleaning wood floors, you will need a liquid cleaner. There are specific wood floor cleaners that you can purchase at stores, or you can make your own solution. Try to avoid using vinegar since this solution is acidic, and the residue can damage the floor over time. Try boiling water with two teabags if you want a DIY solution that won’t damage your hardwood.
No matter what product you decide to use, the process for mopping your hardwood floor is the same for both engineered hardwood and regular hardwood. Soak your mop head, rag, or sponge in your cleaning solution, wring it out until the mop is damp (not wet), and mop the floor. Be careful not to let too much water get on the floor as this will cause streaking. Have a separate bucket for your dirty water.
Wipe up any excess water with a clean, dry towel to avoid damaging your floor with standing water.
Clean-Up Time
It’s really that simple! You should aim to mop your wood floors twice a month. On top of that, add a bi-monthly polish routine to help the floor shine. Waxing is also helpful to maintain clean hardwood floors. If your floor is really starting to lose its luster, it might be time to re-polish. This should be done by a professional every three to five years as needed.
Check out Bulbhead to discover the home of bright ideas!